实验前提:
已从JumpServer下载离线安装包至服务器,并解压安装包至/opt目录下
下图展示解压后的目录、文件
直接运行./jmsctl.sh install进行安装
整个安装过程几乎都是下一步安装,安装过程会有YES OR NO的选项,根据需要自行设定
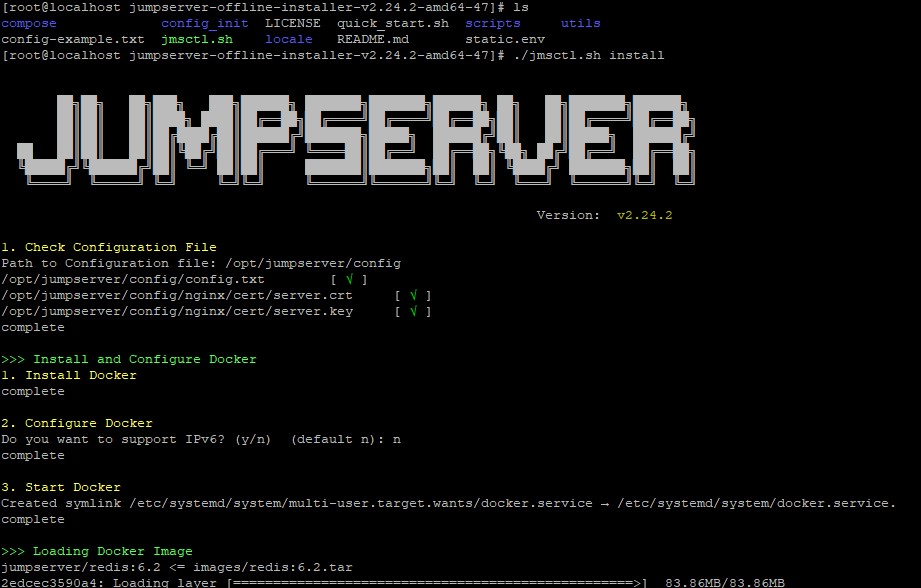
安装过程
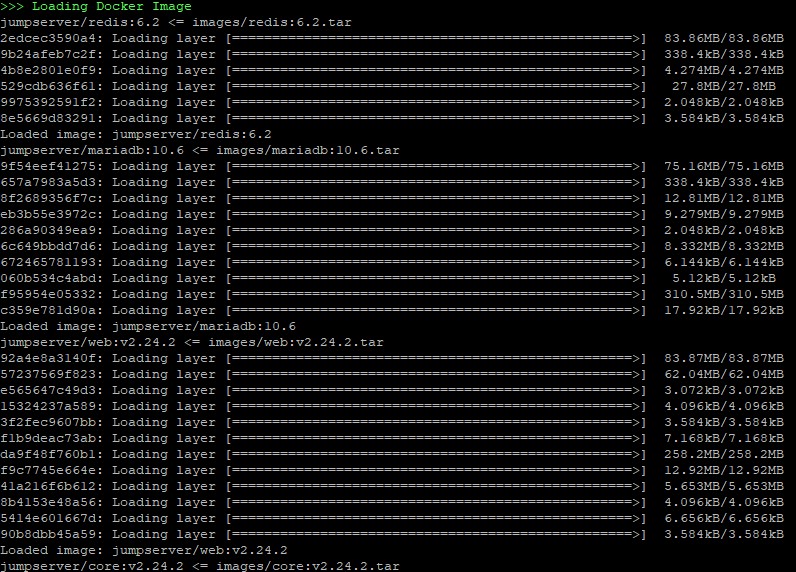
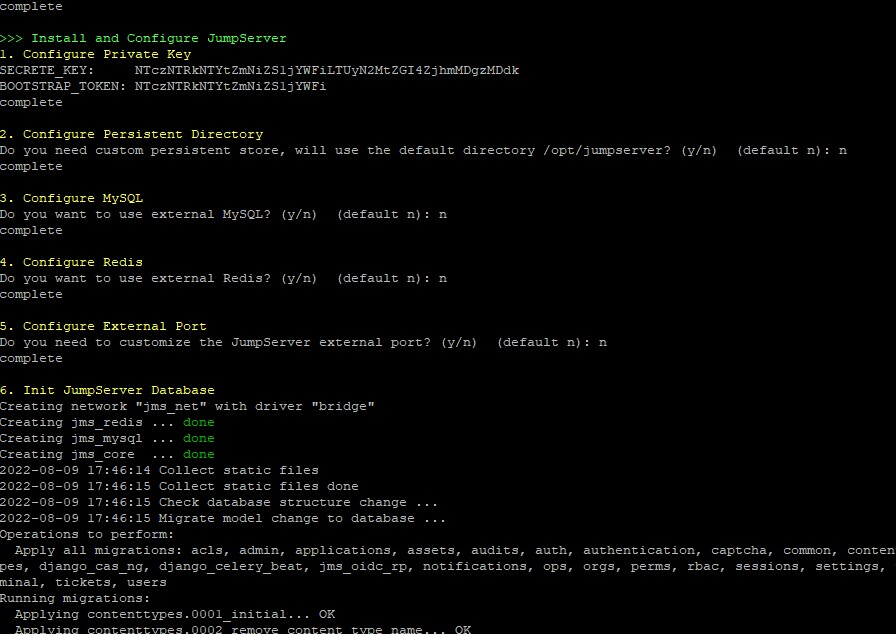
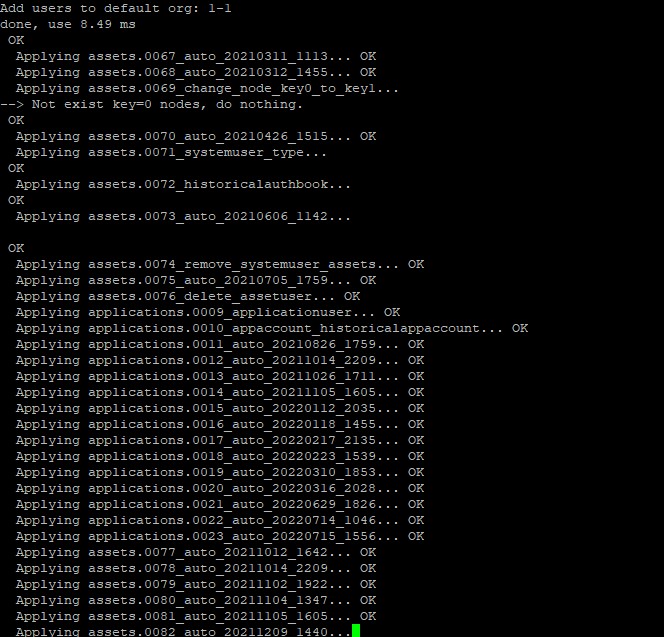
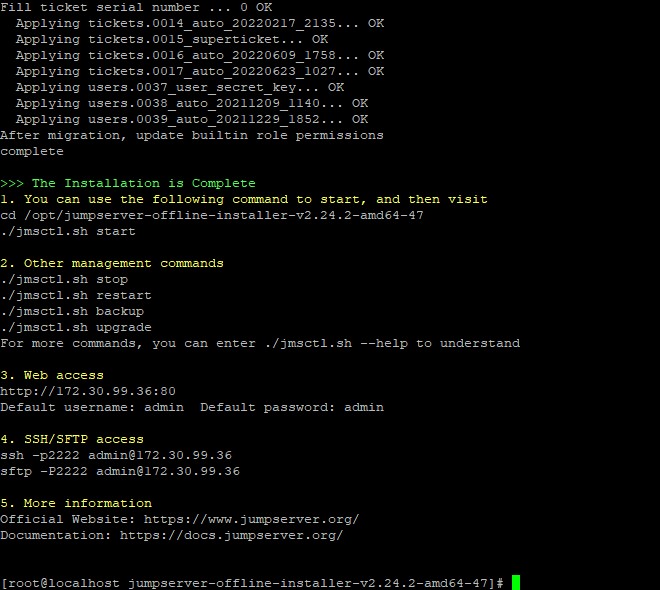
The Installation is Complete
- You can use the following command to start, and then visit
cd /opt/jumpserver-offline-installer-v2.24.2-amd64-47
./jmsctl.sh start
-
Other management commands
./jmsctl.sh stop
./jmsctl.sh restart
./jmsctl.sh backup
./jmsctl.sh upgrade
For more commands, you can enter ./jmsctl.sh --help to understand -
Web access
http://172.30.99.36:80
Default username: admin Default password: admin -
SSH/SFTP access
ssh -p2222 admin@172.30.99.36
sftp -P2222 admin@172.30.99.36 -
More information
Official Website: https://www.jumpserver.org/
Documentation: https://docs.jumpserver.org/

安装完成后web相关作业
账密admin it1234
相关问题记录:
首先,记得关闭selinux。
服务启动报错(jms_core 启动时间过长,导致其他容器健康检查失败。)
通过docker logs -f jms_core --tail 200处理后并重启服务。

Web端口被占用
可以修改配置文件为其他端口即可(如9080)

最后,服务器的硬件配置要合理。
本次测试部署服务器配置为(3G内存+8核CPU+40G磁盘)。过低也会导致各种服务启动失败的报错。
最后,也可以参考官方文档,对于报错也有相应的处理办法。
官方文档地址:
https://docs.jumpserver.org/zh/master/
 有约不来过夜半,闲敲棋子落灯花。
